
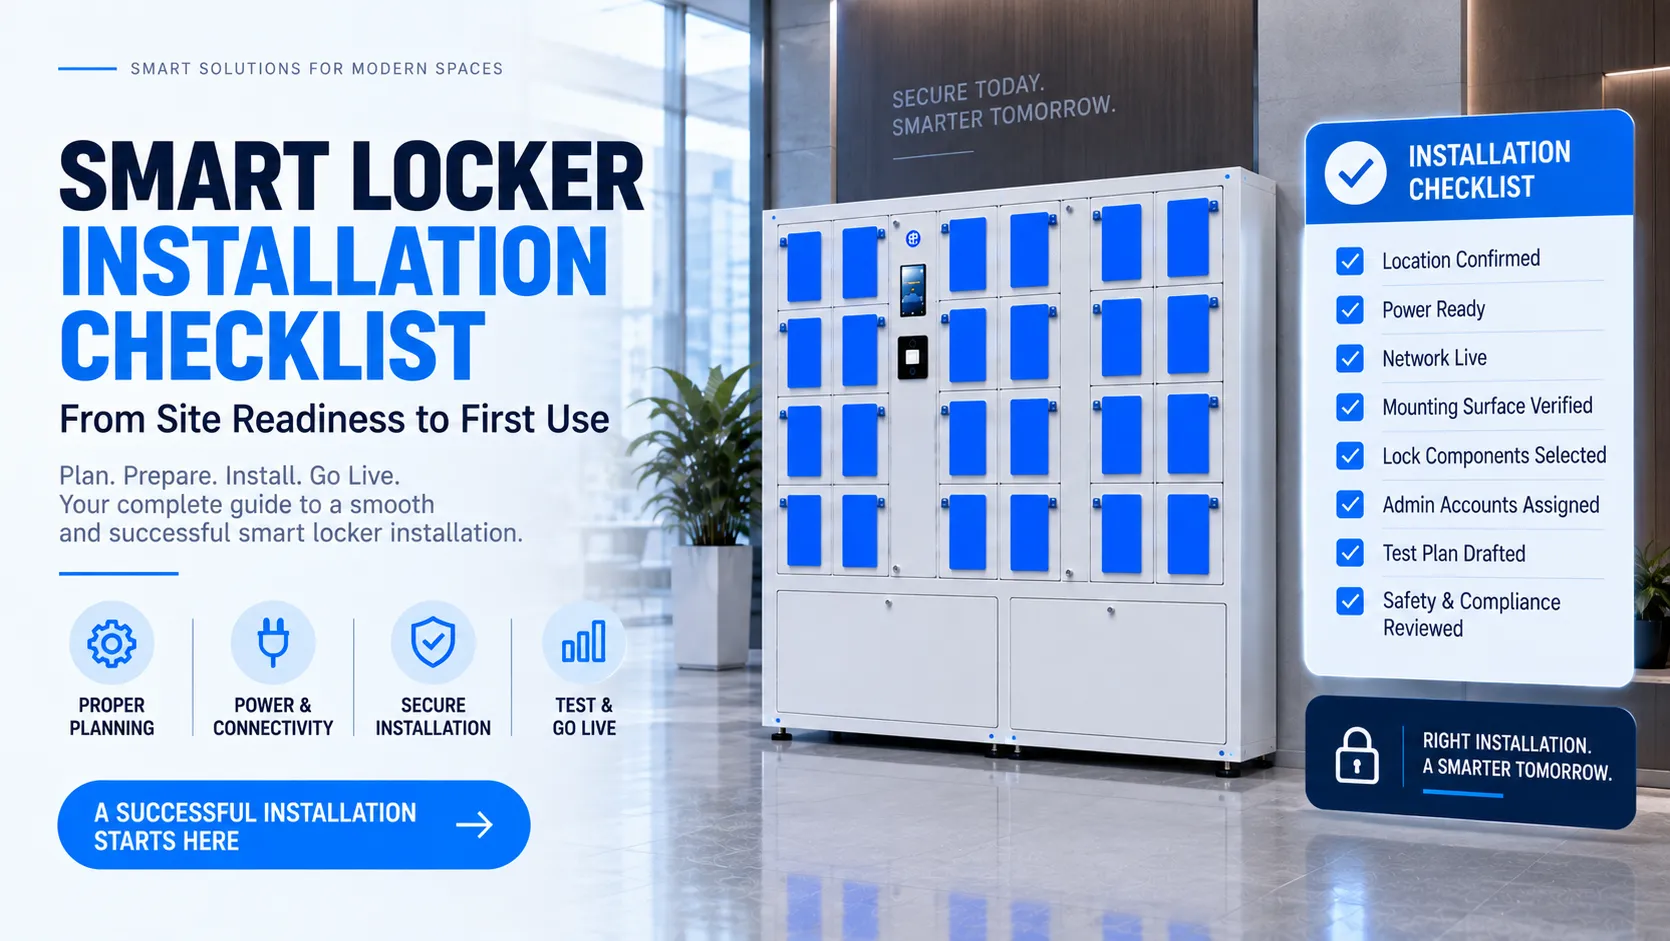
A smart locker installation checklist keeps your deployment on schedule and prevents the kind of last-minute scrambles that turn a one-day install into a week of follow-up calls. Whether you’re adding device charging lockers to a corporate lobby or deploying parcel pick-up stations across a university campus, the process is the same: get the site ready, verify the hardware, connect everything, test it, and train your people. This guide walks through the entire process.
Quick Start Smart Locker Installation Checklist (Summary First)
Before installation day, your facility manager and IT contact should be able to answer one question confidently: “Is the site actually ready?” If you’re deploying Honestwaves smart lockers or charging stations, validate the items below before scheduling installers. A pre-installation checklist should address power and connectivity needs above all else.
- Location confirmed – exact wall or floor position marked, with adequate clearance for door swing and user access
- Power ready – 120 V dedicated circuit installed and tested, outlet placed behind or beside the locker bank
- Network live – Ethernet drop active or Wi-Fi signal verified at the install location; firewall rules configured
- Mounting surface verified – wall type identified (concrete, CMU, steel studs, wood), anchoring points agreed, mounting plate position marked
- Lock components and access methods chosen – electronic latch, motorized bolt, or mortise locks selected; authentication decided (PIN, RFID, QR code, mobile app)
- Admin accounts assigned – cloud portal admin and on-site project owner designated
- Test plan drafted – list of functional checks, user-journey simulations, and common installation issues to watch for
- Safety and compliance reviewed – ADA clearances confirmed, permits checked, emergency override procedures documented
Smart lockers require reliable power and network connectivity – skipping either one is the fastest way to stall an installation.
Understanding Your Smart Locker Project Scope
Treating locker installation like a small project rather than a simple delivery eliminates most delays and rework. Define the scope early, and you avoid showing up on install day missing power drops or realizing you ordered the wrong compartment mix.
Start by clarifying your use case:
- Employee device storage – phones, laptops, tablets secured during shifts
- Visitor phone charging – charging lockers with data-blocking USB-C ports
- Parcel pick-up/drop-off – mailroom or e-commerce fulfillment
- Asset management – tools, medical supplies, or equipment checkout
- Mixed-use banks – some compartments with UV-C disinfection or charging, others for plain storage
Look for smart lockers with a mix of small, medium, and large compartments to match actual usage patterns. If you need help choosing sizes, map compartment dimensions to the items being stored. For higher-security areas, specify the lock body requirements – mortise locks or motorized bolts instead of basic electronic latches, and choose the right door lock for the compartment and use case.
User authentication can utilize PIN codes, barcodes, or mobile apps, so decide which methods your population will actually use before ordering hardware. Some projects also pair locker deployments with a smart door or a smart door lock at adjacent controlled-access rooms when planning the overall access strategy. Smart lockers can be customized to integrate with existing systems, including corporate directories and badge readers.
List your stakeholders (facilities, IT, security, reception, and Honestwaves as your vendor), and assign a single project owner. Clearly documented scope prevents common installation issues like under-sized locker banks or missing infrastructure.
Pre-Installation Site Readiness Checklist
Most delays in locker installation come from site readiness problems, not hardware faults. Get these items locked down before the truck arrives.
Physical and spatial checks:
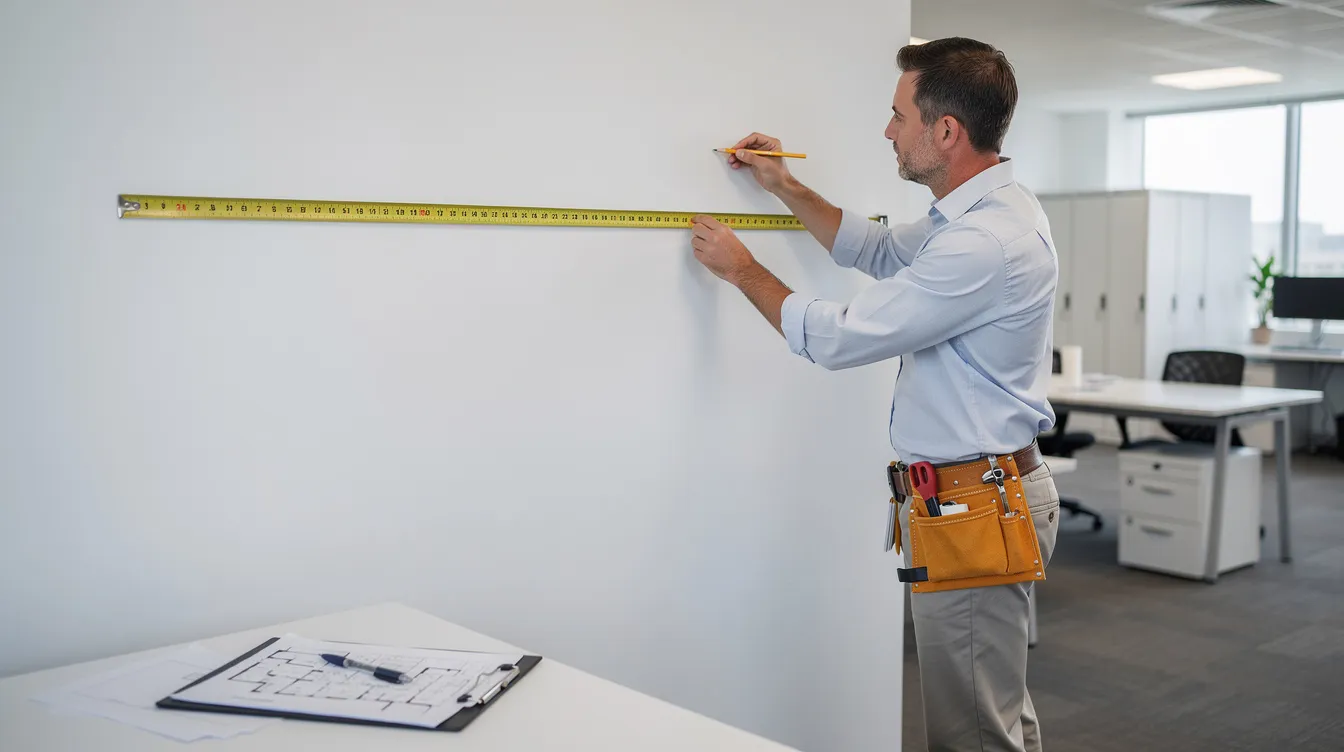
- Measure wall width, height, and depth with a tape measure; confirm the locker bank fits with margin for leveling
- Plan for adequate clearance when installing smart lockers – at least 4 ft (1.2 m) in front so doors open fully. Smart lockers must comply with the Americans with Disabilities Act (ADA), requiring a minimum 30 × 48 in clear floor space in front of accessible units, with at least 5% of lockers meeting accessibility standards
- Space around smart lockers should allow comfortable user access without blocking emergency exits or walkways
Substrate and structure:
- Verify wall type: concrete, CMU, steel studs, wood studs, or freestanding base
- Confirm the surface can bear the full loaded weight of frames, hardware, electronics, and stored items
- Smart lockers need to be securely anchored to prevent tipping – identify exact anchoring points before delivery
Power:
- 120 V dedicated circuit (15 A or 20 A) in the USA; charging-heavy banks may need 20 A or a second circuit
- Complete all electrical work at least 48 hours before hardware arrival to allow inspection
Network:
- Live Ethernet drop preferred; if using Wi-Fi, verify signal strength of at least −60 dBm at the install location
- Prepare firewall rules and outbound port access for cloud-connected smart lockers
Environment:
- Indoor climate control within vendor specs; no direct sprinkler heads over control electronics
- For semi-outdoor installations, use overhangs or shelter. Weather-rated lockers often have an IP65 rating for outdoor use. Environmental conditions affect smart locker requirements for installation
Check for necessary permits before installing smart locks in shared spaces, especially in multi-tenant buildings.
| Readiness Item | Owner | Target Date |
|---|---|---|
| Power circuit installed | Electrical contractor | _ |
| Ethernet/Wi-Fi verified | IT team | _ |
| Mounting surface confirmed | Facilities | _ |
| ADA clearances measured | Facilities | _ |
| Firewall rules configured | IT team | _ |
Hardware Verification: Lockers, Lock Components, and Accessories?
Open every pallet on arrival and verify contents against your purchase order or shop drawings. Discovering a missing controller or wrong lock body on install day costs you hours.
- Locker frames and doors – correct quantity, correct compartment sizes, no shipping damage
- Lock components – confirm lock body type (electronic latch vs. motorized bolt), any mortise locks for high-security compartments, and spare keys for mechanical overrides. Smart locks require a compatible door thickness of 1⅜ to 2⅝ inches; most smart locks require a crossbore diameter of 2⅛ inches
- Mounting hardware – mounting plate (if supplied), anchors, bolts, leveling feet, shims, cable grommets
- Electronics – controllers, RFID or PIN keypads, QR readers, indicator LEDs, power supplies, embedded phone charging modules, UV-C disinfection units
- Documentation – printed installation guide with step by step instructions, wiring diagrams, serial labels or QR codes needed for cloud registration, and warranty paperwork. Honestwaves includes lifetime warranty documentation with every shipment
Ensure the deadbolt is retracted before securing the assembly during any lock body test-fitting. Photo-document unboxing for freight damage claims and warranty records. Read the user manual thoroughly before proceeding.
Power, Network, and Security Integration
Smart lockers are part of a broader facility security ecosystem – not stand-alone metal cabinets. Treating them that way during the setup process saves headaches later.
Electrical:
- Confirm circuit rating matches your configuration. Charging-rich banks can draw up to 1,000 W on a 110 V circuit (roughly 12 A)
- Add surge protection; avoid sharing circuits with other high-draw equipment
Network:
- Assign static IPs or DHCP reservations for each controller
- Smart lockers function effectively with Ethernet or strong Wi-Fi signals. Connectivity issues arise with 5GHz-only routers – ensure 2.4 GHz is available, as most smart locks use Bluetooth or Wi-Fi for connectivity. Smart locks typically need a stable Wi-Fi connection for setup
- Video feed issues may indicate insufficient network bandwidth, so plan accordingly if cameras are part of the deployment
Security and authentication:
- Coordinate with IT on data protection policies, encryption, and audit log retention. Smart locks provide tracking of who enters and exits, and smart locks allow remote access control from anywhere
- Smart locks can integrate with home systems like Apple HomeKit and broader smart devices ecosystems, including corporate SSO and directory services
For multi-site enterprise deployments, unify configuration and reporting across campuses using Honestwaves’ cloud dashboard. A single lobby install is straightforward; scaling to dozens of locations demands consistent firmware, identity integration, and centralized control.
Step-by-Step Physical Installation Checklist
This section is for installers or facility teams working alongside Honestwaves or third-party crews. Installing smart lockers can take 1 to 2 days from setup to integration, depending on bank count and complexity. Installation typically takes 1 to 2 hours for most smart locks in a single-door retrofit scenario. For this system, the core smart lock installation workflow starts with the physical build before configuration and testing.
Arrival and prep:
- Verify delivery against packing list
- Move crates to the exact installation area; protect floors and walls with temporary coverings
Positioning:
- Mark center lines on the floor or wall; check level and plumb with a spirit level
- Align locker banks with ADA access routes and architectural elements; double check that every door type swings without hitting walls, furniture, or adjacent lockers
Anchoring and mounting:
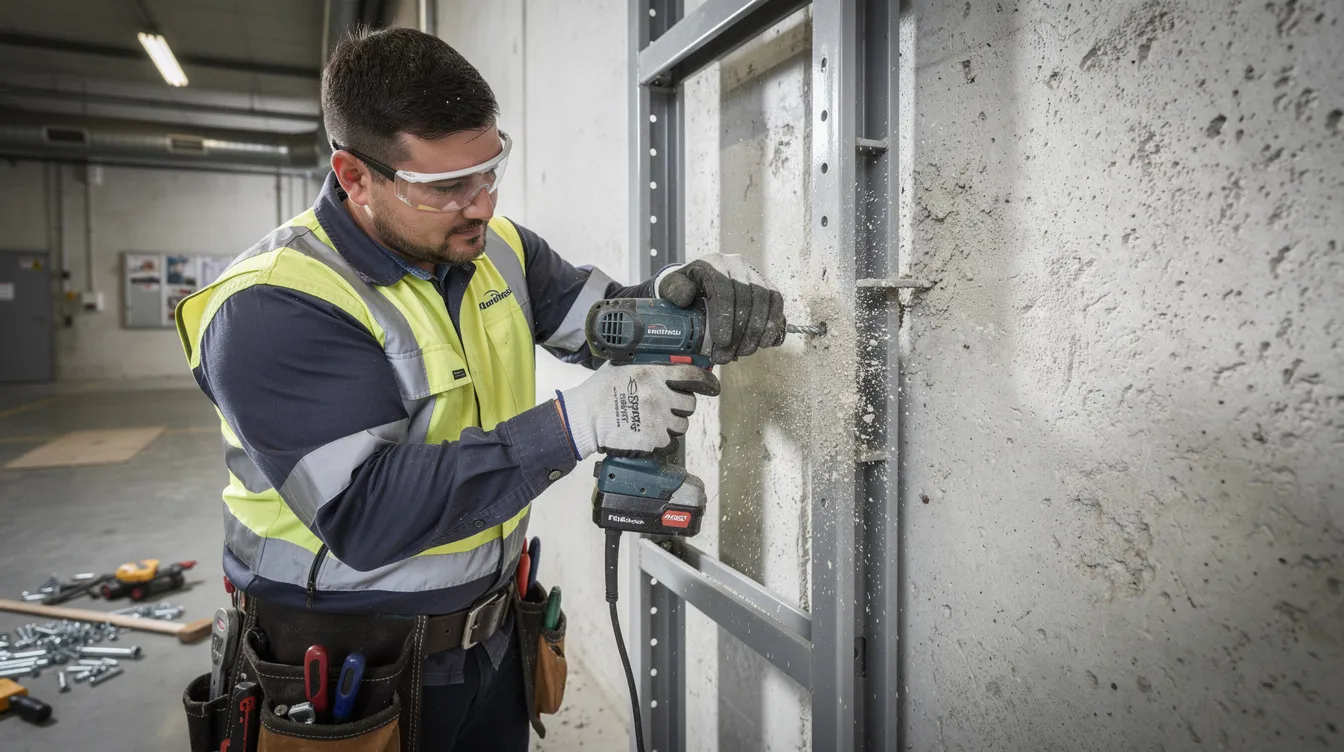
- Secure frames to floor or wall using the supplied mounting plate, anchors, and mounting screws – tighten to manufacturer torque specs to avoid warped door frames
- Installation may require a power drill for pilot holes in concrete or CMU substrates. Use two screws minimum per anchor point as specified
Cable routing:
- Run power and data cable through grommeted openings; avoid sharp bends that damage wiring
- Secure all cables so they can’t be pinched by doors or panels; leave service access slack
Lock assembly:
- Install each lock body, connect wiring harnesses, and verify that every compartment’s latch or bolt moves freely. Confirm the deadbolt moves smoothly in each door
- Insert the strike plate and confirm alignment – a misaligned latch or strike plate causes binding deadbolt issues
- Label any special high-security doors; these are the final installation steps before software setup and testing
Follow the model-specific installation guide for exact screw types, torque values, and assembly sequences. The whole process goes faster when you don’t improvise.
Configuration, User Setup, and Battery Life Considerations
After the hardware is mounted, software configuration turns metal boxes into a managed smart locker service. Most smart locks require a smartphone app for configuration, and the same applies to locker-bank controllers.
- Initial setup – power on, connect to network, register the locker in the cloud portal, and apply firmware updates. Smart locks enhance security with auto-lock features that engage automatically after a set interval
- Workflows – assign compartment roles: short-term device storage, long-term asset checkout, or parcel pickup. Set time limits, auto-unlock rules, overstay notifications
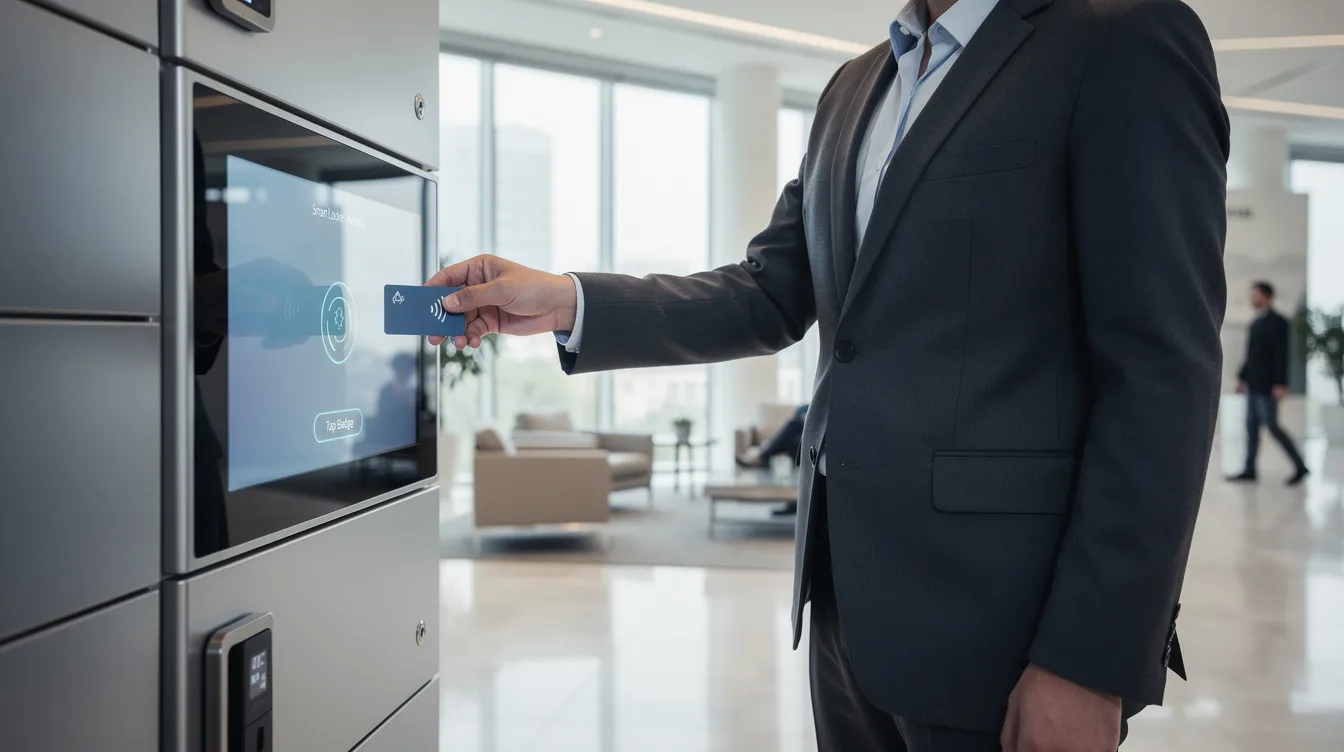
- Access control – import users and groups, map RFID badges or PIN codes. Smart locks eliminate the need for physical keys, which simplifies credential management. Smart locks can integrate with smart home systems and corporate identity providers for keyless entry. Stable lighting is crucial for palm-vein enrollment success if biometric readers are deployed
- Battery life – even mains-powered systems use local batteries for door-level smart locks and controller real-time clocks. Know the battery type and plan routine replacement schedules
- Analytics – Honestwaves dashboards surface usage data (door openings, peak times, overstay events) to help you tune rules and plan expansion. Smart locks offer enhanced security and convenience through this visibility
Testing Protocol and Common Installation Issues to Catch Early
Never open lockers to users until you’ve run a structured test plan. Testing should include functional trials of every locking mechanism – every single door, not a sample.
Functional tests:
- Open and close every door; verify each lock component properly latches
- Confirm LED status indicators, and ensure transactions log correctly in the admin portal
- Test that every new lock and new deadbolt operates as expected with the new smart lock controller
User-journey tests:
- Simulate a user claiming a compartment, storing a phone, receiving a notification, and retrieving the item using each credential type
- Test both the app and any keyless entry method (PIN, QR code, RFID)
Integration tests:
- Confirm email/SMS/app notifications send correctly
- Test offline behavior – smart locks should cache authentication data and sync queued events when connectivity returns
- Verify any third-party integrations (parcel software, access control, ticket systems)
Common issues to catch:
- Misaligned doors causing jams or fit properly failures
- Loose anchoring creating vibration or door misfit
- Incorrect mounting plate orientation or reversed lock body wiring
- Insufficient Wi-Fi signal causing connectivity problems or lag
- Shared circuits overloaded when charging modules draw peak power
Establish clear protocols for failed locks or network outages before going live. Keep a test log (door number, scenario, result, notes) and do not sign off until every critical issue is resolved. The best solution is catching problems now, not after users start complaining.
Training, Policies, and Ongoing Maintenance
Long-term success depends on trained staff and clear rules, not just correct mounting. A perfectly installed locker bank that nobody knows how to manage is just expensive furniture.
Admin training:
- Creating and revoking access, opening doors remotely, resolving stuck doors, exporting reports, applying firmware updates, and contacting Honestwaves support
Front line staff training:
- Basic user assistance, safety procedures (never force doors), and how to escalate technical problems without manual intervention that bypasses security
End user education:
- Post simple signage at the locker bank: how to use the interface, time limits, what items are allowed (no hazardous materials), and where to get help
Maintenance:
- Maintenance includes routine checks of locking mechanisms and software, inspect hinges, clean high-touch surfaces, verify LED status, and check battery backup functionality
- Schedule firmware updates during low-traffic windows for optimal performance
Honestwaves offers ongoing support and rental programs, so facilities can scale or relocate locker and phone charging solutions as needs change without worry.
Frequently Asked Questions
These FAQs address the most common concerns facility teams raise before and during smart locker installation.
How long does smart locker installation usually take?
A single Honestwaves smart locker or charging locker bank typically installs and tests within one business day when site readiness is complete. Multi-bank or multi-floor projects can span 2–3 days per site. The installation process moves fastest when power, network, and mounting surfaces are verified in advance. Many smart locks for individual door applications can be installed in 1–2 hours, but full locker bank deployments require more configuration and testing.
Can I retrofit existing lockers with smart lock technology?
Yes. Many locks and locker banks made from metal or wood can be upgraded with retrofit smart lock bodies and controllers. However, you need to evaluate door thickness (most smart locks require 1⅜ to 2¹¹⁄₆₄ inches), hinge type, internal clearance for cabling, and whether the door frame supports electronic hardware. Honestwaves has a detailed guide on how to transform old lockers into smart lockers.
What building modifications are usually required?
Common modifications include adding power outlets near the locker bank, pulling Ethernet cable drops, reinforcing mounting surfaces, and occasionally trimming baseboards. Major structural work is rarely needed. The complete list depends on your door type, wall construction, and whether you need outdoor protection, but most standard installations require only minor electrical and network prep.
How do smart lockers stay secure during power or network outages?
Locks remain physically secure the default state is locked. Queued events sync automatically when connectivity returns. Many smart locks and locker systems include backup batteries that keep controllers and authentication data alive for hours. Mechanical override or admin key access procedures should always be defined in advance as part of your reliable security plan.
Who should own the smart locker service after installation?
Assign an operational owner – typically someone in facilities or security – plus an IT contact responsible for network, data, and integrations. Honestwaves provides admin training, documentation, and ongoing support to ensure a smooth handover. Clear ownership prevents the “nobody’s job” problem that leads to neglected maintenance and frustrated users.